How to make a 3D felt item using a resist
I have just completed another wet felt workshop this week and the guests made some fantastic glasses cases. As they left one requested I send the work instructions on how to make a 3D felt item using a resist to her so she can try again at home. I have been meaning to post this for months and months so here goes….
Making a bowl using a resist
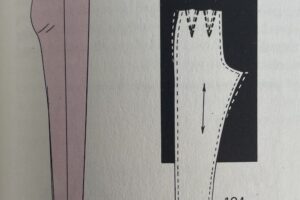
This method also works to create a glasses case, bag, hat or even shoes.
Gather your wet felting equipment.
A general wet felting set up: a non slip surface, a towel to roll, a towel to dry your hands. Bubble wrap and or a bamboo mat, net, soapy water.

Create a resist
Plastic which is flexible but thick enough to feel through the layers of wool – I use laminate floor underlay or ‘fun foam’ sheets. Circular approximately twice the diameter of the finished bowl.
Which wools do we use
Merino is the easiest to work with, it felts quickly and gives a lovely smooth finish. You can use lots of different wools, most sheep breed wools will felt – you can check by rubbing the wool fibres with soapy water.
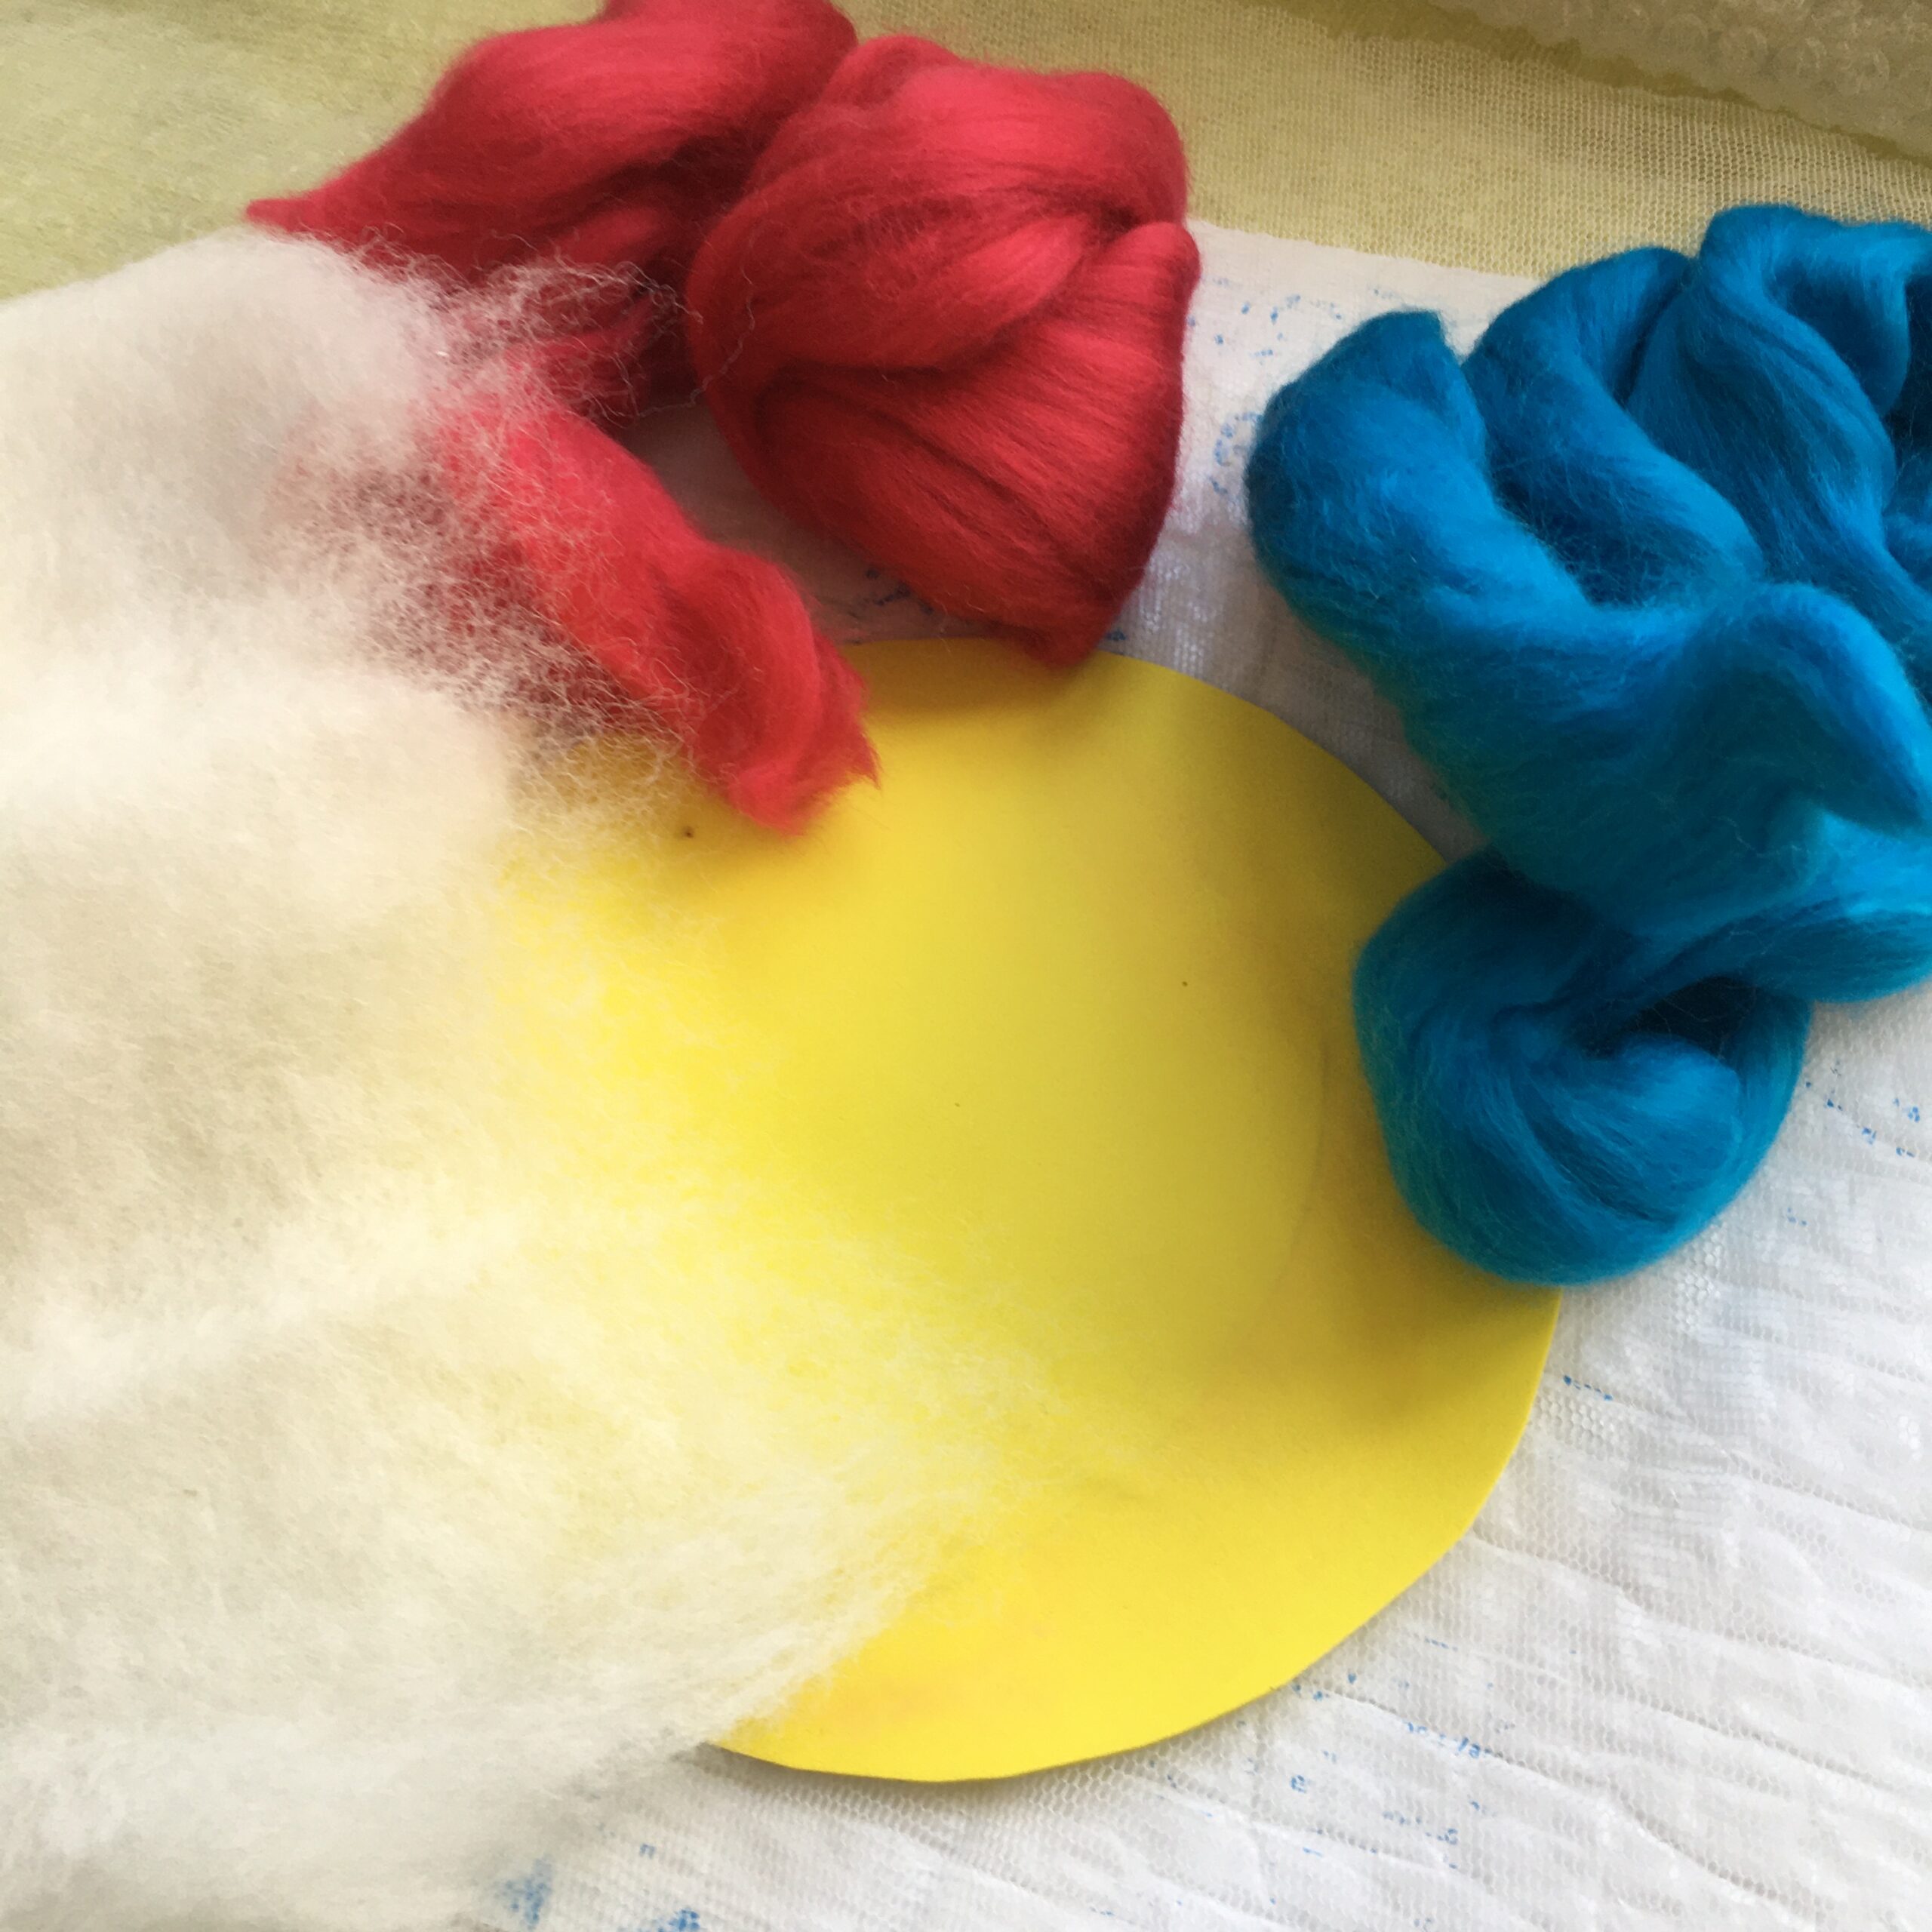
Creating the layers of wool
Begin layering the wool over the resist – in this example I have used a white batt for layer one so ensure there is an even covering of wool which slightly overlaps the edge of the resist. Wet it down with a net over the fibres to prevent them moving with the force of water. Press the air out and the water into the wool. Flip over and gently fold over the edges being careful not to allow any lumps or bumps to form on the edge as this will be ‘seamless’.
Repeat for side two and flip and fold in edges.
The next stage is to add another layer of wool – ideally in a different direction (at 90 degrees) to the previous layer. In this example I have layered red merino roving split into thin strips and then pulled in to tufts which are laid down as shingles in lines across the surface. Take care to ensure an even layer without holes and a small overlap.
Again wet the fibres with a net over the top to protect your layout. Once all wet and air is squashed out flip over and fold over the edges carefully as before.
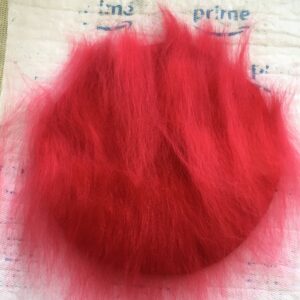
Complete the red layer on the other side of the resist in the same direction as the first.
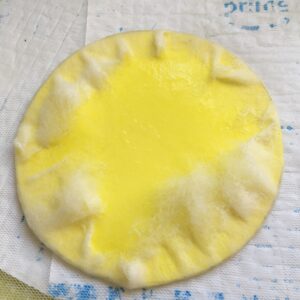
The third layer is your decorative layer so the direction of fibres is less important – either work at right angles again just go with the design you planned. If you want extra texture or ‘cut out’ holes this is where you might add extra smaller resists.
You resist will be completely encased in wool fibre with no visible sign of the internal resist or the decorative resists – it should look like a chunky wool pancake and be very damp.
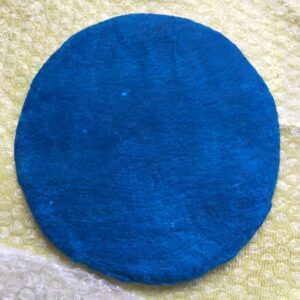
Start the wet felting
Now is time to start the felting process – carefully cover over with bubble wrap and rub each side and the edges using your hands for about 5 minutes a side. It is useful to wet and soap your hands to encourage movement over the bubble wrap which should be bubble side to the felt. The fibres will begin to migrate and tangle.
Squeeze out any excess water and begin rolling – first around a rolling pin or pool noodle – 50 rolls then flip and turn – repeat 4 times. Be gentle at this stage – but the end of this 200 rolls the surface fibres should be starting to adhere.
The next 200 rolls you can be more vigorous perhaps loosing the rolling pin and rolling up on itself or swapping the bubble wrap for a bamboo mat. Again doing 50 rolls then flipping and turning. There are no hard and fast rules to wet felting and what works well for one person may not suit another – you might hate rolling and therefore massage the felt instead for the whole process.
Once the felt has come together you can pull the shape so that the seam is now in the centre and roll a little more.
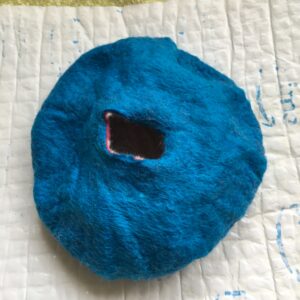
Remove the resist
When you are confident that you have good felt where all three layers of fibre have combined you can carefully cut your bowl opening and remove the centre resist.
Continue to work or full the felt to continue shrinkage and improve the surface, you may choose to rinse in hot water then cold – to rub the surface with a felting tool or to throw the felt around – what ever suits your mood!
If you have used additional resists they will also need to be removed. Remember to work the cut edges with a little extra soap and water to seal and felt them further.
Almost there
That is it – one last stage, rinse all remaining soap out. You may wish to do a weak vinegar rinse to neutralise. Wring out all the water you can then stuff with plastic or newspaper and put your bowl to dry.
A day or two in a warm place and your bowl is done – well done!
If you would like to come and make some felt at the studio you can find all the upcoming workshops here